
Home Tour- How to make one that would sell
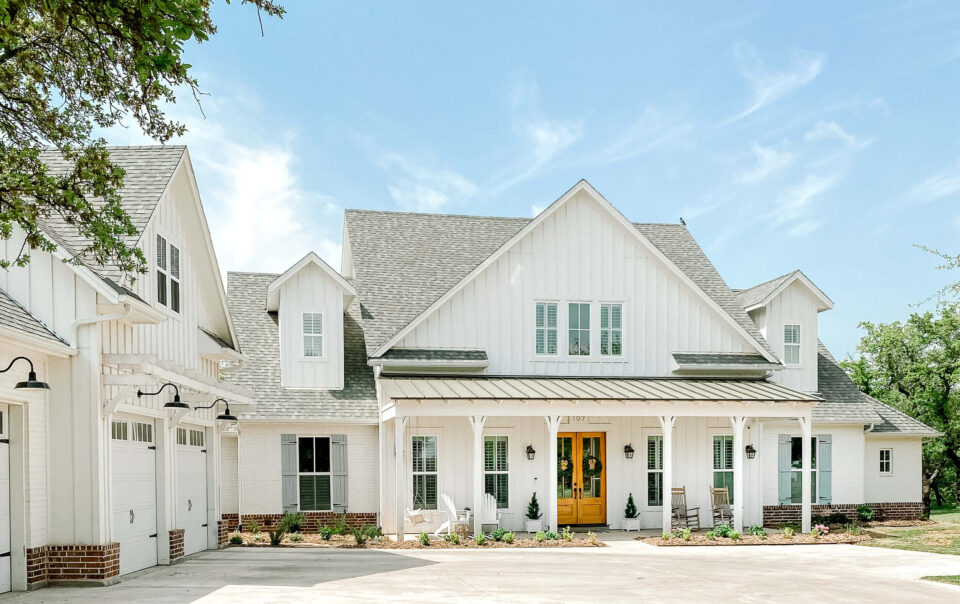
Home is where the heart is and that is why it’s very important to pick the right one. I believe that when buying a house or finding your dream home you want to make sure everything is just right.
If there’s something I have observed about real estate experts is that when they want to sell a house they give good virtuals. Aside from having great social media presence online, they ensure that they give good virtuals on properties for sale.
Why Is Home Tour Important?
It’s easier to buy something when it looks appealing to you. And when it comes to getting your dream home everything has to be perfect.
There is a lot of property listing sites on the web but only a few get good traf fic. This is because they have understood that pictures of a property might not be enough.
Yes, high-quality pictures are very good but let’s be honest when you see a video proof you easily make a decision. There are no two ways about it, for someone who intends to buy a home, there are so many things you would want to see.
How do you make a good home tour, that would actually sell? Some realtors know the value of having a good virtual online but don’t know how to go about it.
But don’t worry I got you.
Home Tour- How to make a one that would sell
Choose the Right Equipment & Software
One of the reasons many agents avoid virtual tours is that they imagine needing complicated, high-end photography gear. In reality, you need a panoramic or 360-degree camera, which are more affordable and user-friendly than ever.
Realtors should consider buying one in order to create virtual tours on a regular basis. Look at in-depth reviews of the best 360-degree cameras on the market; compare prices, features, resolution depth (higher is better), stabilizer options to prevent blurry photos, battery life, and remote operation.
Purchase or rent a camera that gives you the features you need for the type of virtual tour you want to create.
Tip: Invest in a stable tripod with a panoramic mount. When you use this essential tool of the trade, the angles in your images will line up when they’re stitched together and your virtual tours will appear much more seamless.
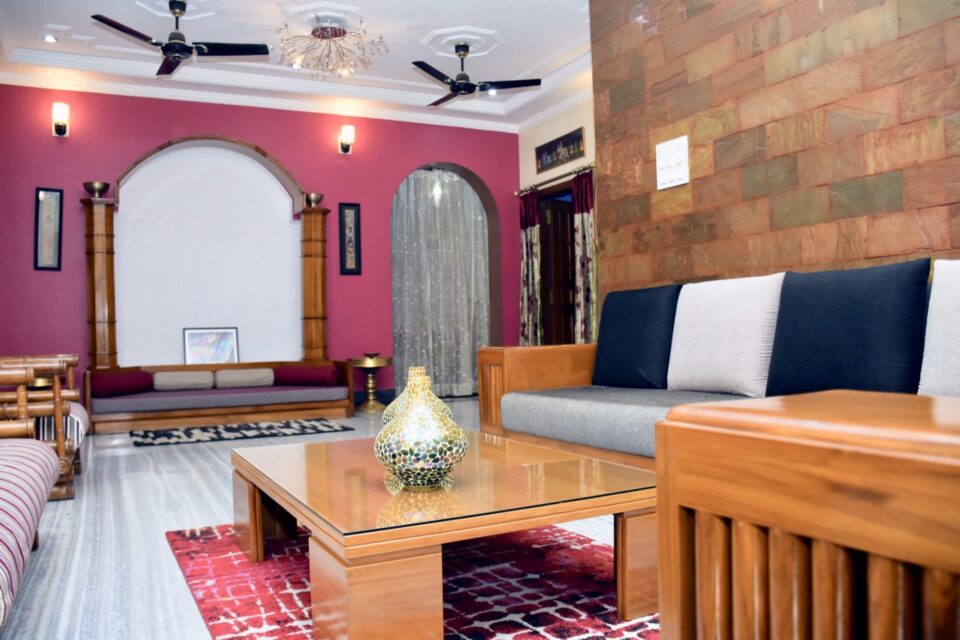
Stage Each Room For Your Home Tour
Now that you know where you plan to set the camera, you need to make sure the room looks as perfect as possible. Remove anything that stands in the way of the lens, ensuring that the camera will have a clear view of the entire room.
Take anything out of the room that might make it seem messy or distract buyers from high-value features. The clearer the view, the better the final result. Be sure the room has enough light so the features are easy to see.
Plan Your Shots
Make a list of every room in the house that you want to include in your virtual tour. Walk through each room, find the center, and make sure your camera will be able to capture and highlight the features of each room from that vantage point.
If the center doesn’t work, find a place where your camera will pick up the most detail and mark the spot with a piece of tape. Create your shot list by writing down the name of each room or filling in a preprinted shot list template.
Tip: Every room matters to a potential buyer, which is why it’s important to include spaces like bathrooms, walk-in closets, and mudrooms in your virtual tour. Creating a shot list ahead of time can help make sure you don’t forget or leave anything out.
Level the Tripod
Your tripod must be level to ensure images are uniform. This applies to any image, video, 360-degree, or panoramic photo you might take. Don’t try to create panoramic or 360-degree images without a level place to put your camera—otherwise, the lines and angles in your shots won’t be straight.
If your tripod does not come with a built-in bubble level, you can download a leveling tool on your smartphone. Level the tripod by adjusting the legs until the bubble is centered between the lines.
Test Shots First
You should test each of the shots on your image list to make sure that you are highlighting the features you want buyers to see. Take a test shot in the room and study it. If the room looks too dark, add more lighting or make adjustments to compensate.
If you notice something distracting in the shot, then move the camera or stage the items in the room accordingly. Be sure to keep an eye on any mirrors, glass, or windows to make sure you and your camera do not appear as a reflection in the pictures.
If you do, pick a different place to stand as you operate the camera remotely.
Take All Photos on Your Image List
Once you determine the correct camera settings, you’ll be ready to move through each room on your image list to take pictures. Find the spot you marked in each room, set up your tripod, and take pictures.
Check each image on the camera screen before moving the tripod, retake shots as needed, and confirm you have all the images you need before moving on to the next room. It’s better to have too many photos than too few.
Create Your Virtual Tour
Once you have all of your images, create your virtual tour by stitching images together using the software you chose in the first step.
Edit & Upload Images Online
Edit and upload your images into your software program to create your virtual tour. When prompted, go through the steps of adding static or panoramic images.
The software will stitch static images together for 3D virtual tours and assemble the panoramic photos for 360-degree tours.


